

You can invest a fortune in various gizmos that promise to help you square up your woodworking machines. But even with the best of these, you’ll still need to make a number of test cuts. And then you’ll check those pieces of wood with your square, which itself may or may not actually be square.
Check out this video clip that I put together for The Woodworking Shows, and you’ll see an easy way to square up your miter saw.
Then read below and see how to use a similar procedure for your tablesaw. I’ve also included an even easier method for your bandsaw.
Square Your Tablesaw
Step 1
STEP 1
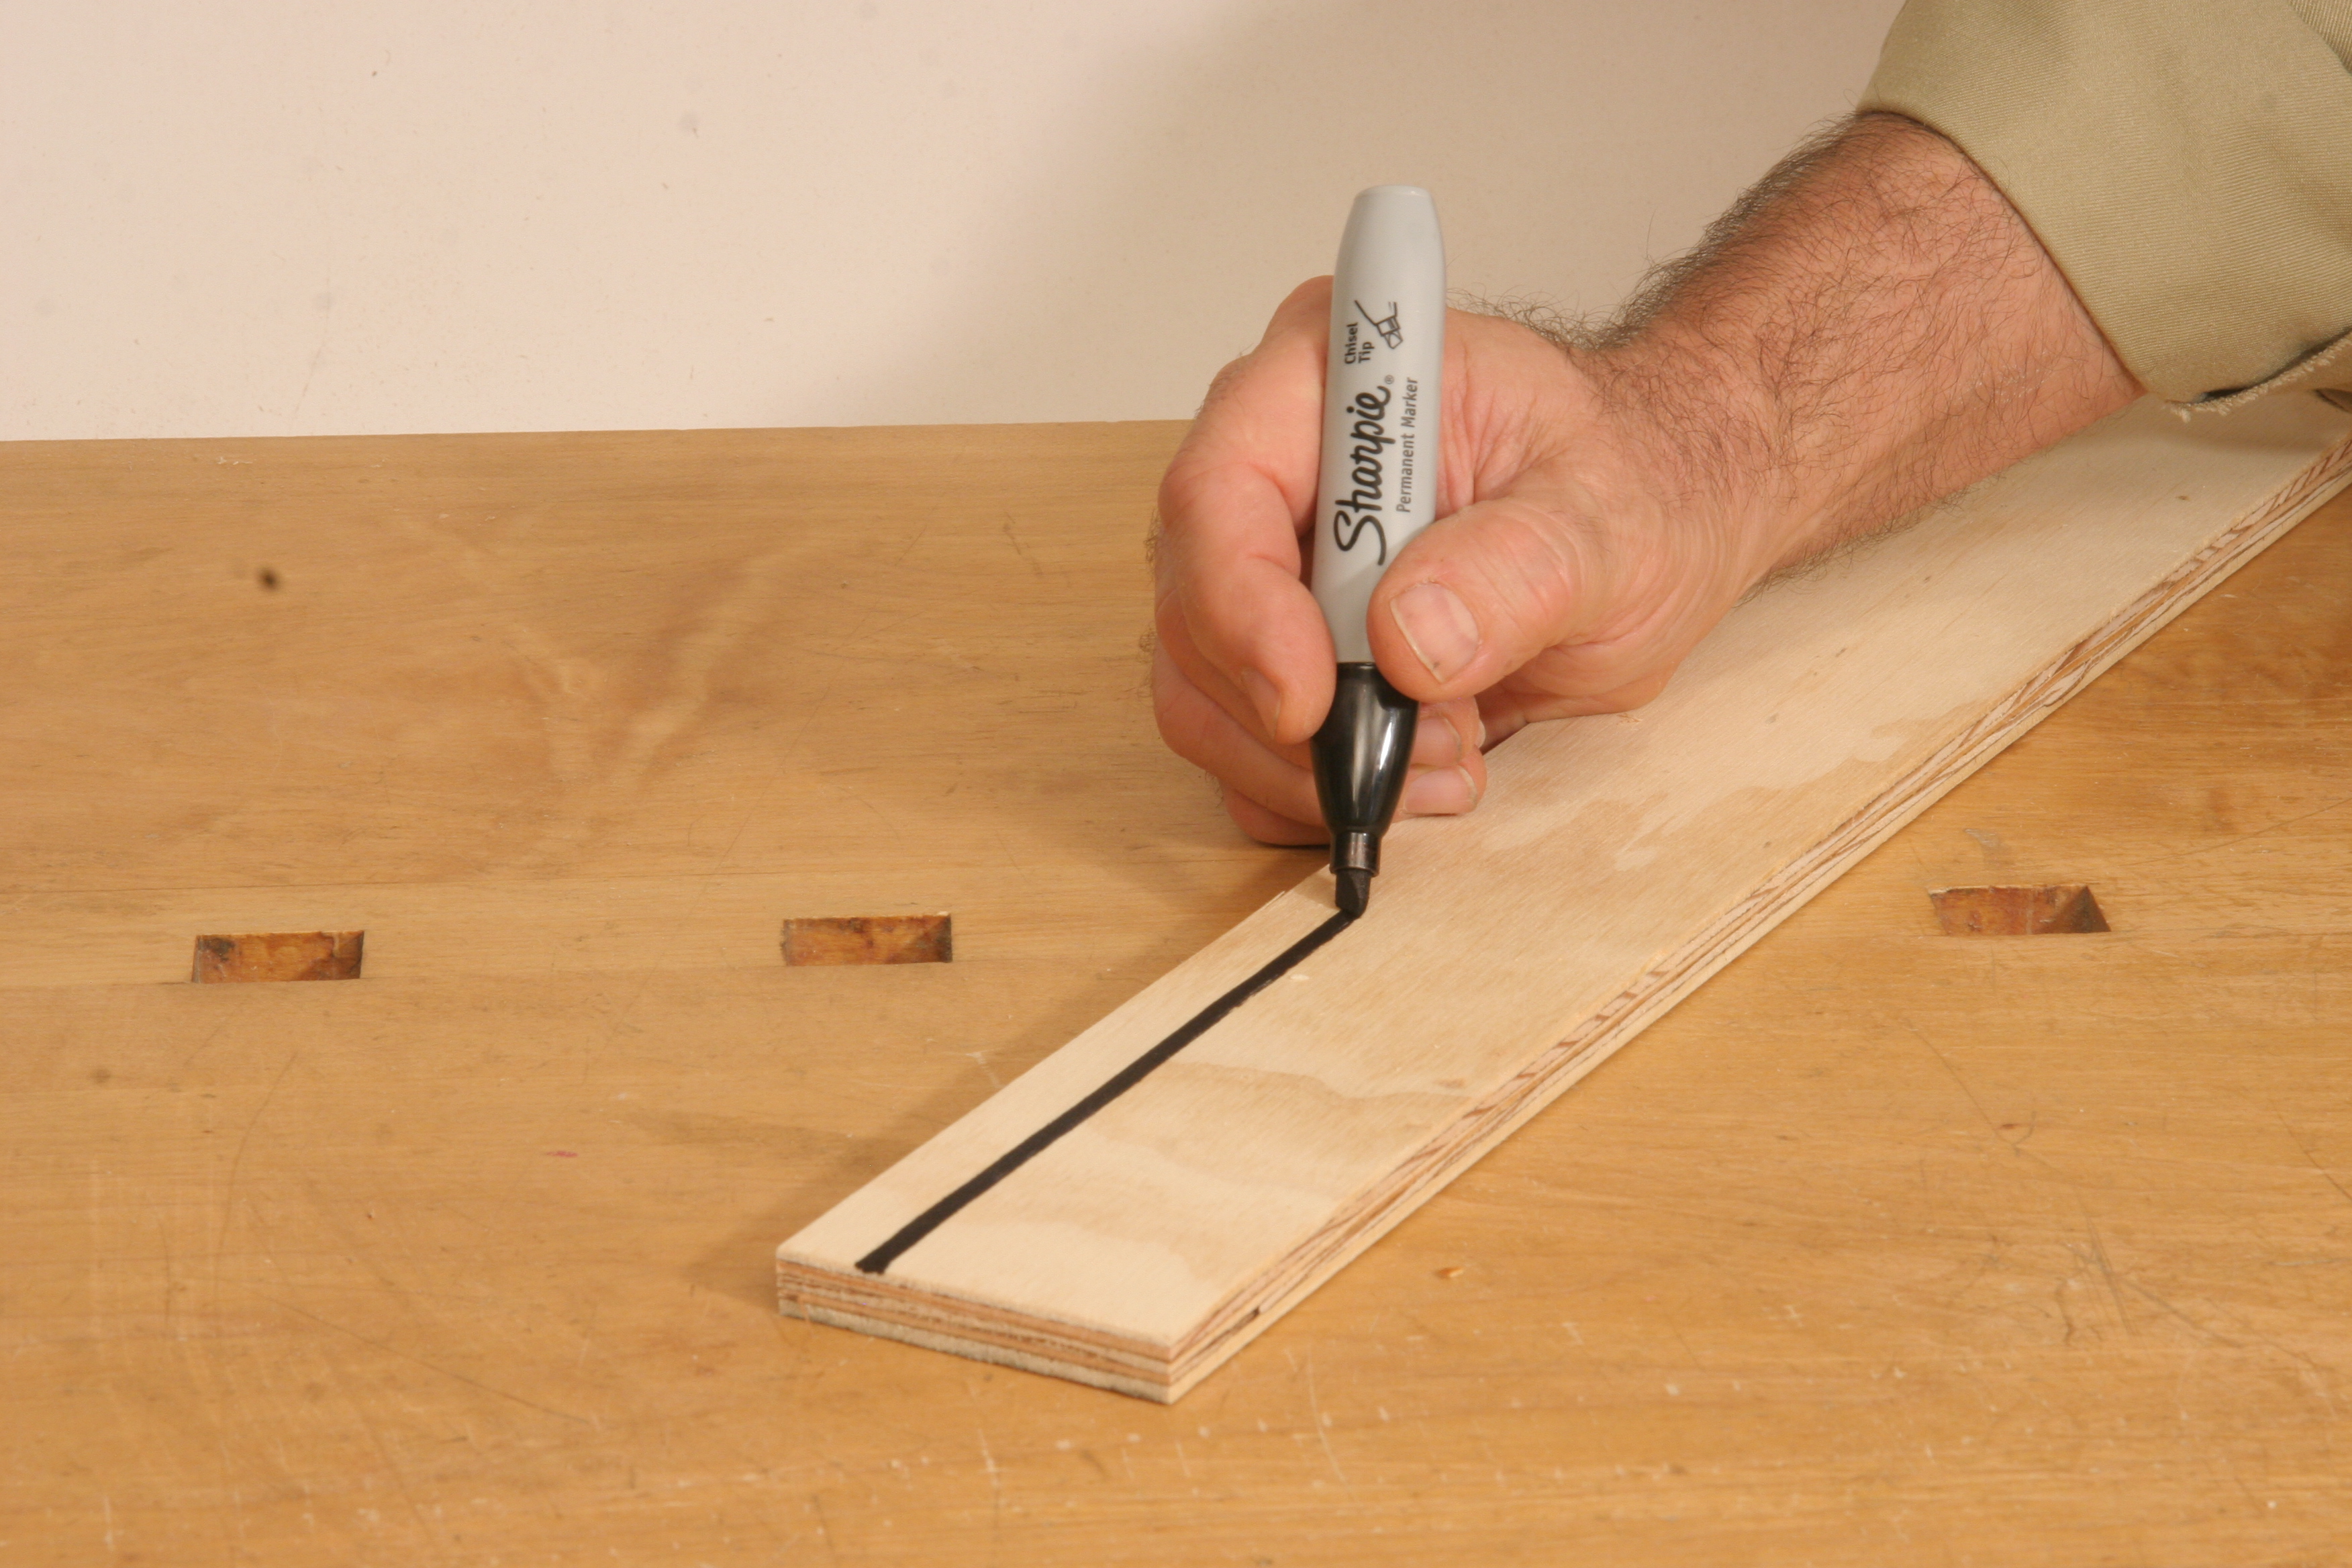
Rip some scrap plywood or solid lumber about 2 3/4 inches wide. The only important thing is that the sides are parallel to each other. Mark a stripe near one edge.

Step 2
STEP 2
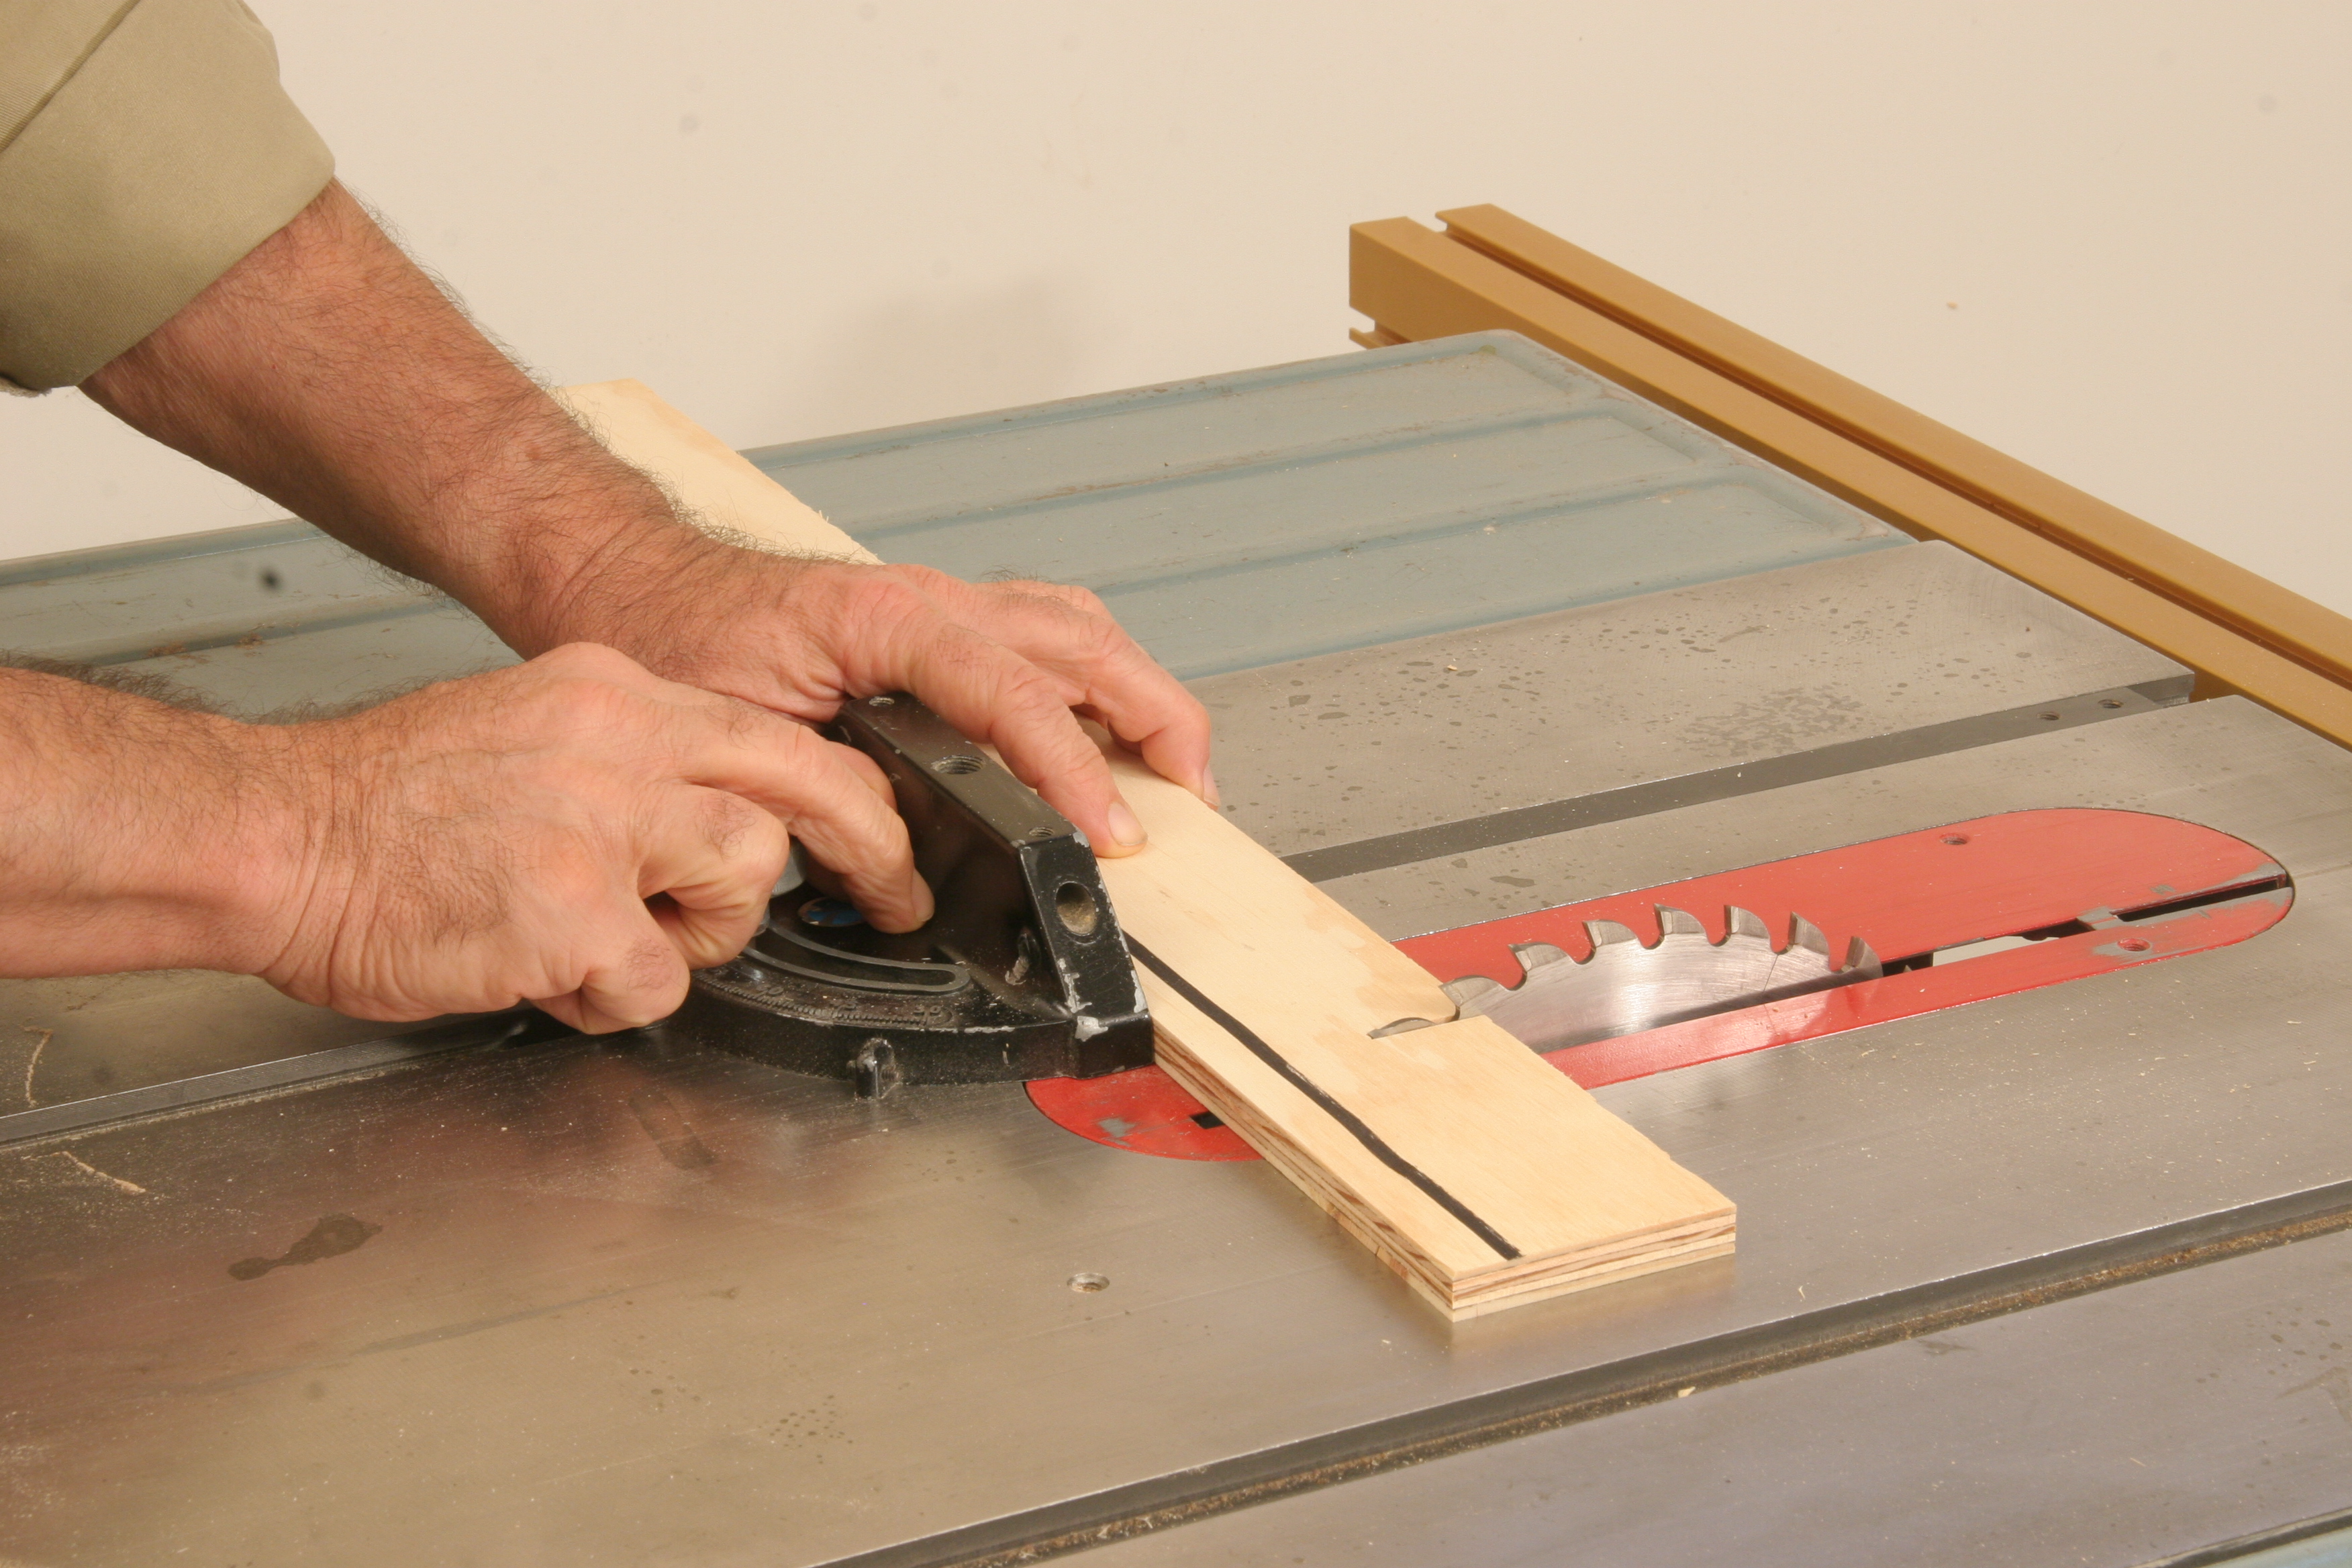
Crank the blade up to its full height, and use your miter gauge to push the wood past the blade. Shut off the saw.

Step 3
STEP 3
Put the pieces on edge, flip the offcut, and push the cut edges together. If there’s no daylight between the edges, your blade is perfectly vertical. But a gap at the top or bottom means you need to adjust the tilt angle and make another test cut. By the way, any gap you see is double the angular correction you need to make. Repeat this process until the cut edges close perfectly. Refer to your saw’s manual to see how to set the stop for the vertical position.
Step 4
STEP 4
With a test strip flat on the table, you’ll verify whether your miter gauge is square to the blade. As before, flip the offcut to test the setup.
(If you experience problems with these procedures, it’s possible that the miter gauge slot in your saw’s top is not parallel to the blade.)
Square Your Bandsaw

Step 1
STEP 1
At the tablesaw, I ripped a scrap 2 x 4 to ensure that the top and bottom edges are parallel. Next, I made a shallow kerf into the end of the board, as shown in the photo. Back out of the cut and shut off the saw.

Step 2
STEP 2
The blade is stationary for the second part of the test. I turned the block over and slid the kerf into the back of the blade. The fit should be effortless, without any hint of binding. If the table is out of square, the misalignment you see will be twice the angular correction needed. Repeat the test until you’re satisfied, then adjust the table’s tilt stop as explained in your saw’s manual.